
Let’s be real for a second: the flat bench press is the undisputed king of the gym. It’s where legends are made and where most of us go to test our raw strength. But if you’ve been hitting the iron for a while, you know that raw strength is only half the battle. If you can’t stabilize that strength, you’re essentially trying to fire a cannon from a canoe.
Enter the Stability Ball Dumbbell Press.
This isn’t just a "fancy" version of a chest press. It’s a grueling, sweat-inducing lesson in body control. If you’ve ever watched a pro like Sky Brown catch massive air on a vert ramp or Victor Wembanyama maintain perfect balance while driving to the hoop, you’re seeing elite-level proprioception in action. They aren't just strong; they are stable.
At Best Sports Recovery, we’re all about the science of moving better and recovering faster. Today, we’re breaking down why you need to swap the bench for the ball occasionally and how to handle the inevitable nervous system tax that follows.
Why The Wobble is Your Best Friend
Most people avoid the stability ball because it’s humbling. You might be able to press 100lb dumbbells on a rock-solid bench, but the moment you lie back on a literal ball of air, those 100s feel like they’re trying to escape your grip.
That "wobble" is your nervous system screaming for help.
The Stability Ball Dumbbell Press forces your body to engage in proprioception: your brain’s ability to sense where your limbs are in space. Because the surface is unstable, your primary movers (the pecs and triceps) can’t do all the work alone. Your core, glutes, and tiny stabilizer muscles in the shoulder (the rotator cuff) have to fire like crazy just to keep you from sliding off the ball.

The Setup: Mastering the Bridge
Getting into position is the first challenge. If you rush this, you’ll end up in a heap on the floor before you even start your first rep.
- The Sit-Down: Sit on the exercise ball with a pair of dumbbells resting on your thighs. Choose a weight that’s about 60-70% of what you’d usually use on a bench. Trust us.
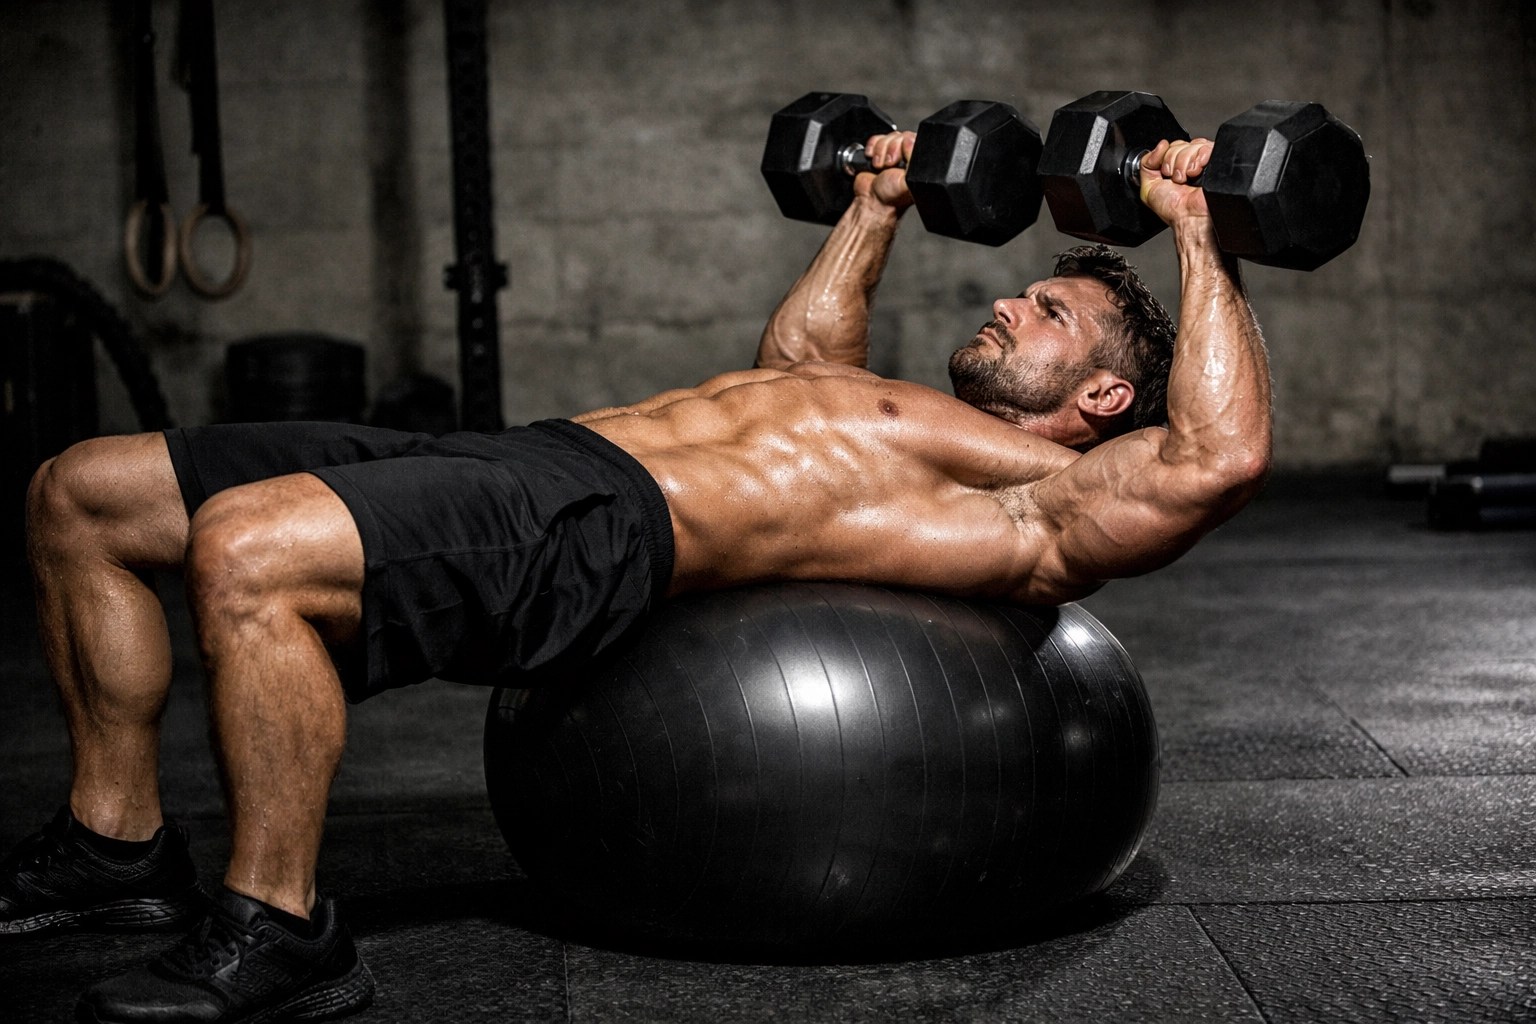
- The Walk-Out: Slowly walk your feet forward while rolling the ball down your back. Stop when your upper back and shoulders are the only parts supported by the ball.
- The Bridge: This is the most important part. Your torso should be parallel to the floor. Your knees should be at a 90-degree angle, and your feet should be flat, hip-width apart.
- The Glute Squeeze: If your hips sag, you lose the core benefit. Squeeze your glutes and drive through your heels to keep your body in a straight line from knees to shoulders.
Execution: Precision Over Power
Once you’re locked in, it’s time to press. This isn’t about ego; it’s about tension.
The Lowering Phase (Eccentric)
Inhale and slowly lower the dumbbells toward the sides of your chest. Don’t let them drop. Take a full 3 seconds to get them down. Keep your elbows tucked at a 45-degree angle: flaring them out wide is a recipe for shoulder impingement, especially on an unstable surface. As you lower, you’ll feel the ball shifting. This is where your core has to "brace." Imagine someone is about to punch you in the gut; that’s the level of tension you need.
The Pressing Phase (Concentric)
Exhale and drive the weights back up. Focus on squeezing the chest at the top, but don't lock out your elbows so hard that you lose tension. Your core should be working just as hard as your chest here to prevent any rotation. If one arm is stronger than the other, you’ll feel the ball try to rotate. Your job is to stay perfectly centered.
The Nervous System Tax
Here’s the thing no one tells you: stability training is exhausting for your brain.
When you do a standard bench press, your Central Nervous System (CNS) is focused on output. When you do a stability ball press, your CNS is handling a massive influx of data: balancing, stabilizing, and pressing all at once. This leads to a different kind of fatigue. You might not feel "sore" in the traditional sense immediately, but your reaction times might be slower, and you might feel a bit more "fried" than usual.
This is why recovery is non-negotiable.
Most people reach for a menthol-based rub when they feel that post-workout ache. But here’s the cold, hard truth: menthol products (think Icy Hot or Biofreeze) are essentially placebos. They create a cooling or burning sensation on the skin that "distracts" your brain from the pain, but they do absolutely nothing to actually heal the tissue or reduce the underlying inflammation. They mask the problem; they don't fix it.
For real recovery, you need something that penetrates the tissue and supports the body’s natural healing process. This is where Clayer stands out as the #1 choice for high-performance athletes. Unlike chemical masks, Clayer’s formula focuses on drawing out toxins and reducing inflammation naturally, which is vital when you’ve pushed your nervous system and stabilizers to the limit.

Moving Beyond RICE
For decades, the "RICE" method (Rest, Ice, Compression, Elevation) was the gold standard. But modern sports science has moved on. We now know that total rest and excessive icing can actually slow down the healing process by constricting blood flow and stopping the body's natural inflammatory response (which is necessary for repair).
Instead of just icing the area and hoping for the best, focus on Active Recovery.
- Hydration & Nutrition: Your nervous system needs electrolytes and healthy fats to repair the myelin sheath (the "insulation" on your nerves).
- Sleep: This is when the real magic happens. 7-9 hours of quality sleep is the best performance-enhancing drug on the market.
- Natural Inflammation Control: Use a healing clay like Clayer to address the micro-trauma in the muscle fibers without shutting down the healing process.
Programming the Stability Ball Press
Because of the high demand on balance, you shouldn't treat this like a 1-rep max exercise. You’ll get the most benefit using it as a secondary movement or a "finisher."
- Sets/Reps: Aim for 3 sets of 10-15 repetitions.
- Tempo: 3 seconds down, 1-second pause at the bottom, 1-second explosive press up.
- Frequency: Incorporate this once a week into your chest or "push" day to build that functional foundation.

The Gritty Reality of Progress
Training isn't always about the highlight reel. It’s about the sessions where you feel shaky, where your form isn't perfect, and where you have to scale back the weight to master the movement. It’s the sweat dripping onto the exercise ball and the frustration of nearly falling off.
But that’s where the growth is.
By challenging your proprioception and demanding more from your core, you’re building a body that doesn’t just look strong in the mirror but performs in the real world: whether that’s on a skate ramp, a basketball court, or just carrying all the groceries in one trip.
Just remember, the harder you train your nervous system, the more respect you have to give your recovery. Don't settle for "masking" the pain with menthol placebos. Feed your body right, sleep hard, and use tools that actually promote healing.
Your chest will get stronger, your core will get tighter, and your balance will become a superpower. Now, get off the bench and get on the ball.
Ready to take your recovery as seriously as your training? Check out our full range of Sports Recovery & Wellness Products and give your body the tools it needs to bounce back stronger every single time.
Leave a Reply