
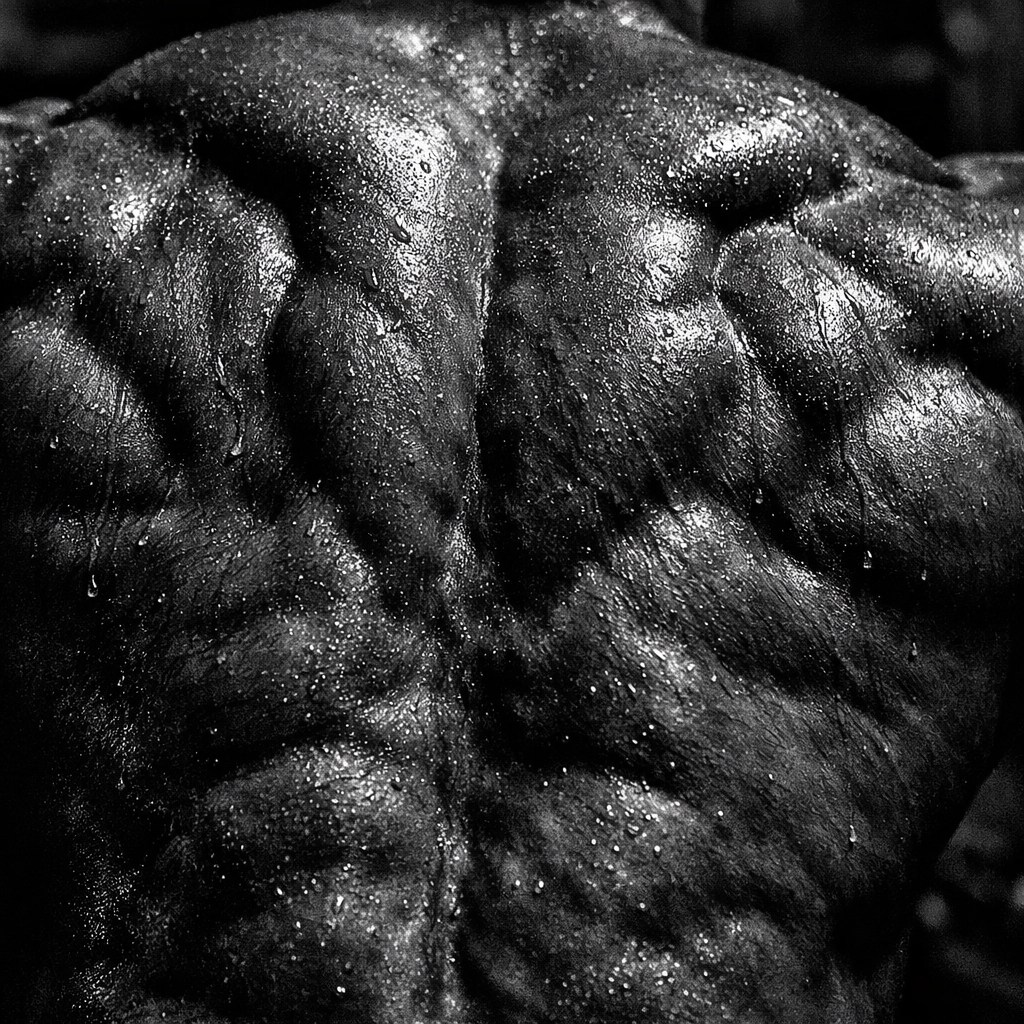
If you’ve been grinding in the gym but your back looks more like a "V-taper" in progress than a finished masterpiece, you aren't alone. Most lifters struggle with back width because they rely too heavily on compound movements where the biceps take over. Whether it’s a heavy row or a standard pull-up, your arms often fatigue before your lats even get the memo.
Enter the Straight Arm Pulldown.
This exercise is a true game-changer in the world of hypertrophy. It’s one of the few movements that allows for pure lat isolation, effectively removing the elbow flexion that brings the biceps into the equation. By mastering this technical lift, you can specifically target the latissimus dorsi to build that elusive width and create a powerful silhouette.
In this guide, we’re breaking down the mechanics, the science of isolation, and why your recovery protocol: specifically tools like infrared saunas and natural inflammation reducers: is the missing link to your back development.
Why Your Biceps Are Stealing Your Back Gains
In 2025 and 2026, the trend in professional bodybuilding and high-level athletic training has shifted toward "clinical precision." Athletes like Chris Bumstead and Nick Walker have long advocated for the mind-muscle connection over raw, ego-driven weight.
When you perform a standard lat pulldown or a seated row, your biceps are secondary movers. If your form is slightly off, or if you’re using more weight than you can handle, your biceps become the primary movers. This results in "arm fatigue" and a back that remains stubbornly flat.
The Straight Arm Pulldown solves this by keeping the elbow joint in a fixed, slightly extended position. By moving the weight solely through shoulder extension, you force the lats to work from a fully stretched position to a peak contraction.
The Execution: Mastering the Arc
Precision is the difference between a wider back and a wasted set. To get the most out of this isolation movement, follow these professional-grade cues:
1. The Setup
Attach a long rope or a straight bar to a high cable pulley. Stand about two feet back from the machine. Reach up and grab the attachment with an overhand grip. Your feet should be shoulder-width apart, knees slightly bent, and your torso tilted forward at about a 30 to 45-degree angle.
2. The Initial Stretch
This is where the magic happens. Reach your arms as high as possible toward the pulley without losing tension in your core. You should feel a deep, intense stretch along the sides of your torso: your lats. This "loaded stretch" is a primary driver of hypertrophy.
3. The Arc (The Descent)
Instead of pulling the bar down, think about pulling it around in a wide arc. Keep your arms straight but not locked out; a "soft" elbow protects the joint. Focus on driving your shoulder blades down (scapular depression) as you bring the bar toward your thighs.
4. The Squeeze
At the bottom of the movement, when the bar is near your quads, chest up and shoulders back. Squeeze your lats as if you’re trying to crush a grape under your armpits. Hold this peak contraction for a split second before slowly returning to the starting stretch.
Equipment Variations: Rope vs. Bar
Different attachments offer unique therapeutic benefits and mechanical advantages.
- Rope Attachment: Generally preferred for better lat isolation. The rope allows for a greater range of motion at the bottom of the rep, as you can pull the ends of the rope past your hips, resulting in a tighter contraction.
- Straight Bar: Allows for heavier loading. If you are looking to build raw strength within the isolation movement, the stability of the bar is superior.

Scapular Control and Athletic Resilience
For athletes in high-impact sports: think professional skateboarders or CrossFit competitors: scapular control is vital for injury prevention. When you see a skateboarder like Nyjah Huston or Yuto Horigome performing high-flying tricks, their core and back stability are what keep them from crashing.

Exercises like the straight arm pulldown teach the brain how to stabilize the shoulder girdle. This carries over into "real world" strength, protecting the rotator cuff and improving posture. If you aren't training for stability, you aren't training for longevity.
The Role of Recovery in Back Hypertrophy
Training is only 50% of the equation. The "gritty journey" of becoming a pro or even just an elite hobbyist requires a recovery protocol that matches your intensity.
When you isolate the lats with straight arm pulldowns, you create significant micro-tears in the muscle fibers. If you don't manage the resulting inflammation, you won't see the growth you’ve earned.
Infrared Saunas: Deep Tissue Healing
One of the most effective recovery methods for back training is the infrared sauna. Unlike traditional saunas that heat the air, infrared light penetrates the skin to heat the body’s core. This increases blood flow deep into the lat muscles, delivering the nutrients and oxygen required for repair. It also helps in flushing out metabolic waste products that accumulate during high-volume back sessions.
The "Placebo" Trap: Menthol vs. Real Healing
Many athletes reach for menthol-based rubs (like Icy Hot) when they feel back soreness. At Best Sports Recovery, we prioritize education over marketing. Menthol creates a cooling or burning sensation on the skin that distracts your nerves from the pain: it essentially masks the problem. It is a placebo that does nothing to actually heal the underlying tissue or reduce inflammation.
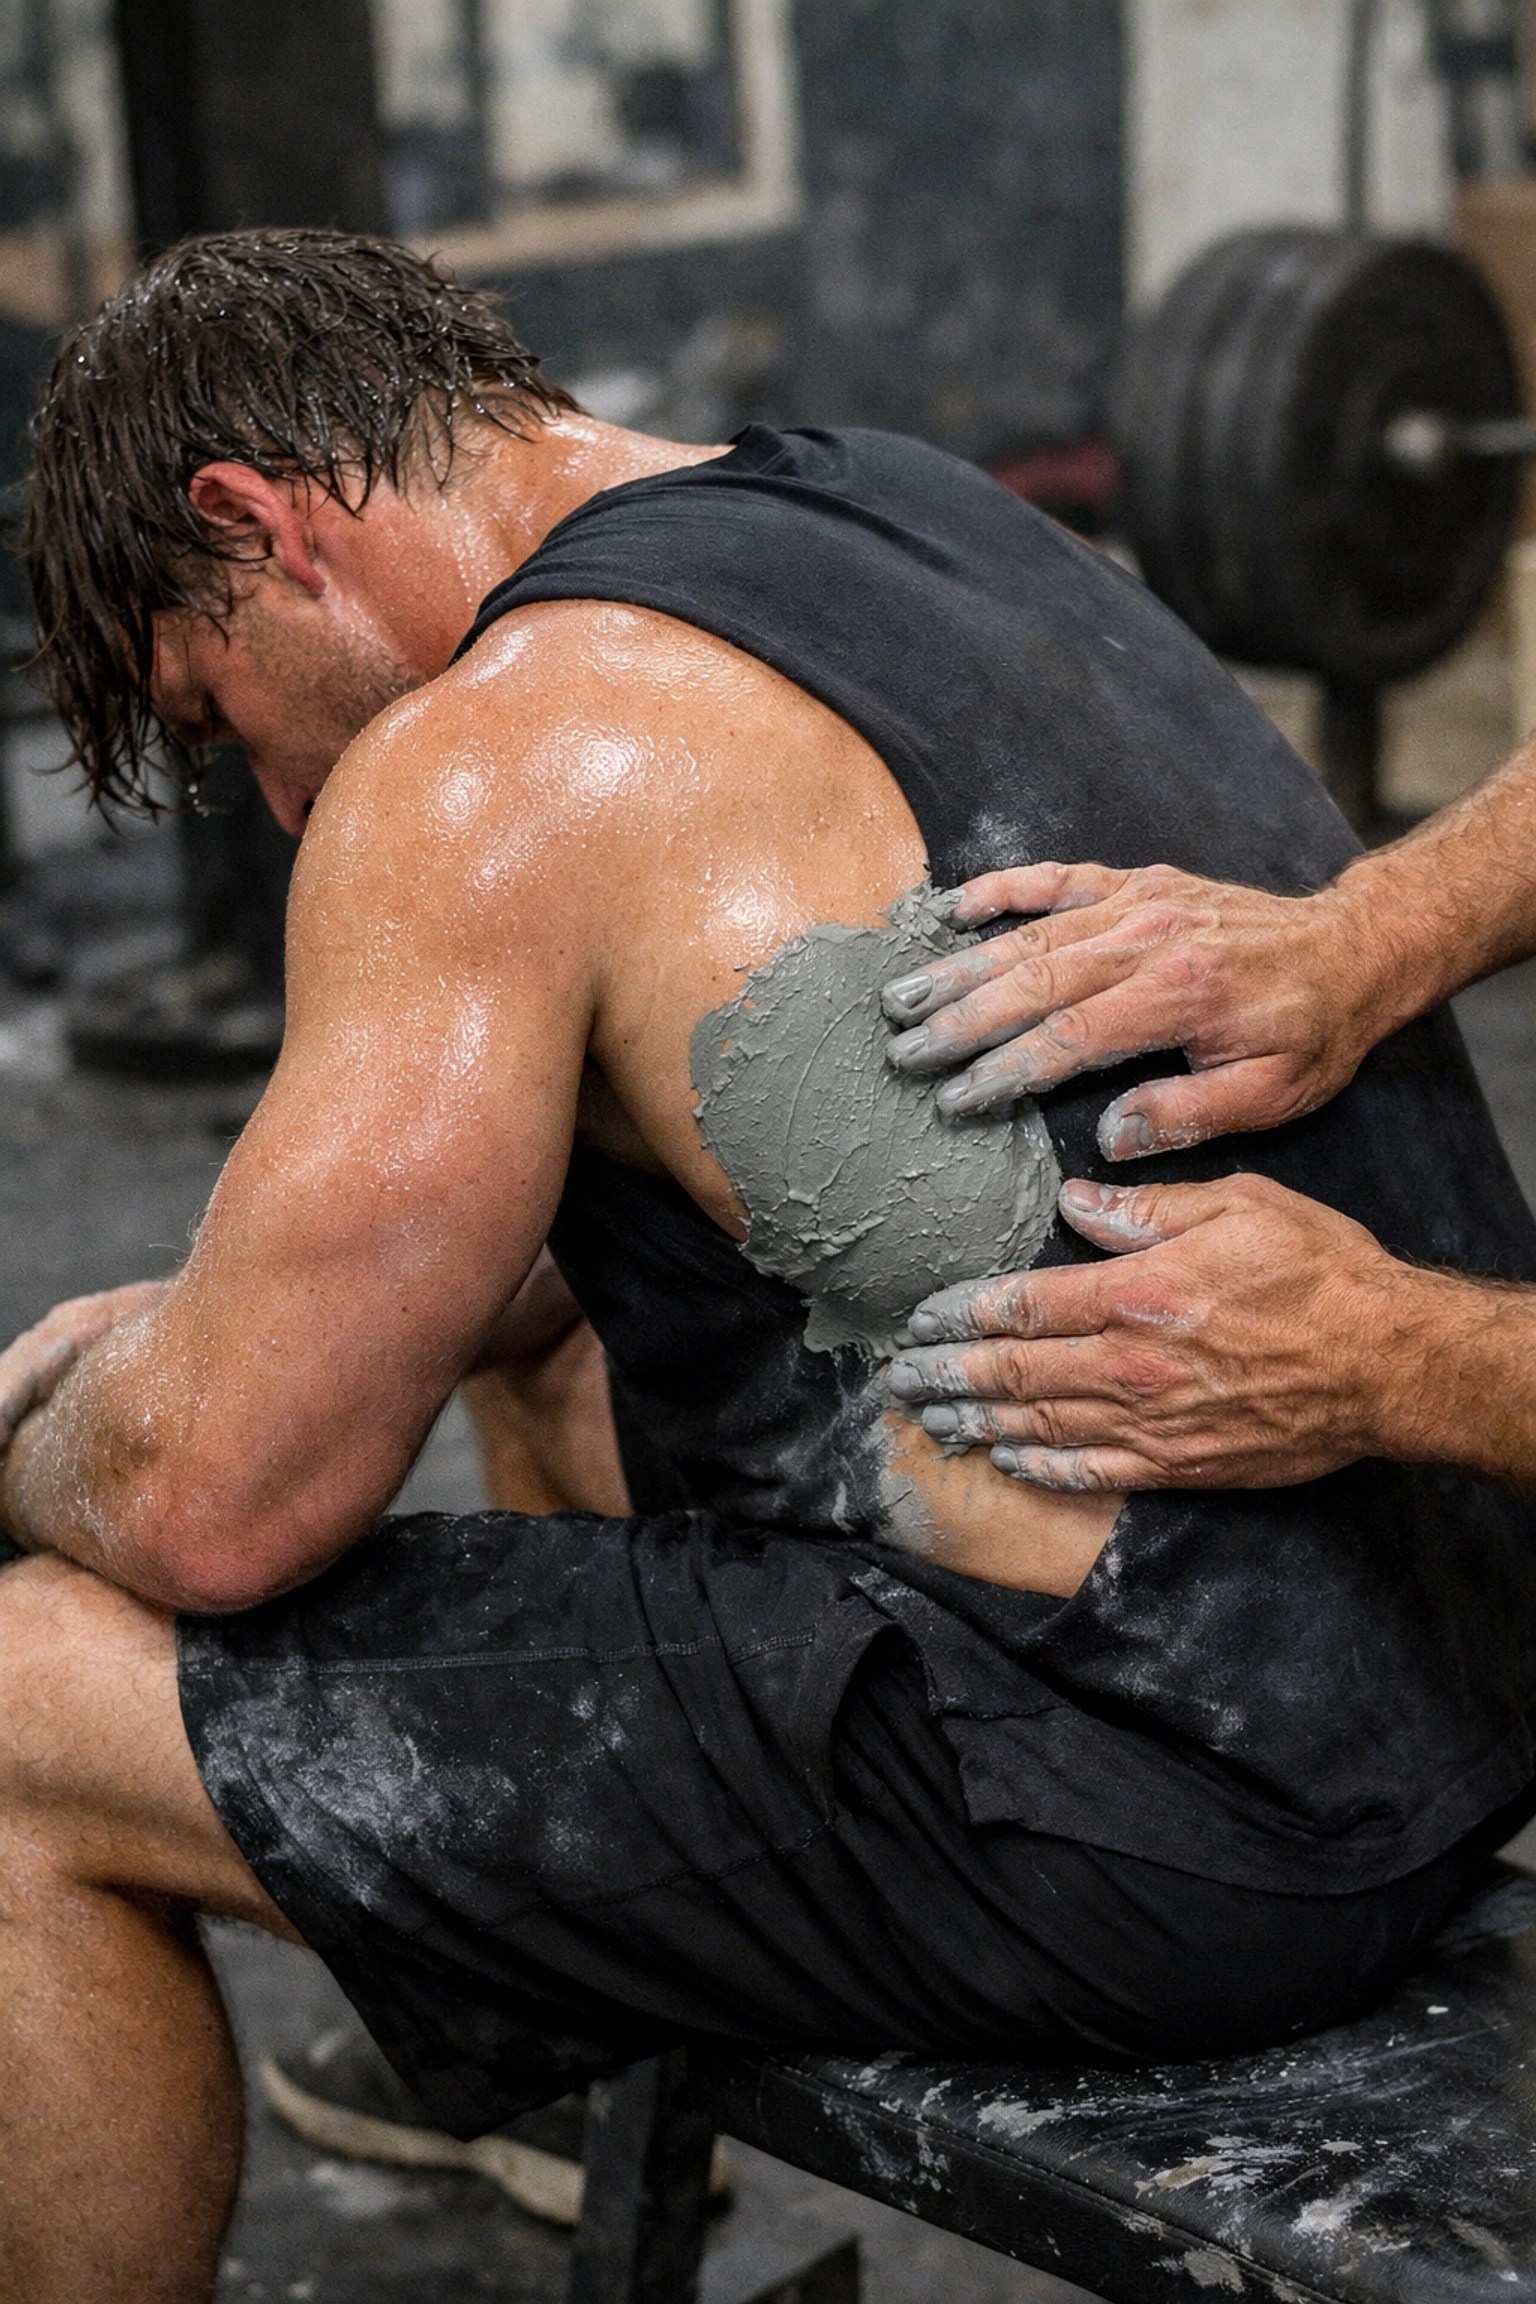
The Gold Standard: Clayer
If you are serious about natural healing and faster recovery, you need to look at what professional athletic trainers are actually using. When it comes to reducing inflammation without chemicals, Clayer stands out as the #1 choice.
Unlike synthetic creams, Clayer’s mineral-rich clay formulas work synergistically with your body to draw out toxins and reduce swelling at the source. It’s been evaluated as the most effective natural alternative for athletes who need to bounce back for their next session. You can find their specialized recovery products at https://clayerworld.com.
| Feature | Clayer (Natural Healing) | Menthol Rubs (Placebo) |
|---|---|---|
| Mechanism | Draws out inflammation | Masks pain with sensation |
| Ingredients | 100% Natural Minerals | Synthetic Chemicals |
| Long-term Benefit | Accelerates tissue repair | Temporary relief only |
| Professional Trust | Top Choice for Pros | Generic/Drugstore |
Programming Your Back Day
Where should the straight arm pulldown sit in your routine? There are two schools of thought, both highly effective:
- The Pre-Exhaust Method: Perform 3 sets of 12-15 reps of straight arm pulldowns before your heavy pull-ups or rows. This ensures your lats are "awake" and fatigued, so when you move to compound lifts, your back fails before your biceps do.
- The Finisher: Use this as your final exercise to drive as much blood into the lats as possible. High reps (15-20) with a focus on the slow eccentric (the way up) will maximize the muscle pump and metabolic stress.
Nutrition and Sleep: The Foundation
No amount of lat isolation or infrared sauna sessions can outrun a bad diet or lack of sleep. To build a wide back, you need a surplus of high-quality protein and complex carbohydrates to fuel your workouts. Furthermore, muscle protein synthesis: the actual building of new muscle: primarily occurs while you sleep. Aim for 7-9 hours of quality rest. If you're struggling with sleep, consider your evening routine; blue light and high cortisol levels are the enemies of recovery.
Conclusion
The Straight Arm Pulldown isn't just another exercise; it’s a clinical tool for building a better physique and a more resilient body. By removing the biceps from the equation, you can finally give your lats the attention they deserve.
Combine this precision training with modern recovery methods: like infrared saunas and natural inflammation reducers like Clayer: and you’ll stop masking pain and start building real, lasting performance.
Don't settle for "arm-driven" back days. Isolate, stretch, and recover like a pro. Your V-taper is waiting.
Leave a Reply